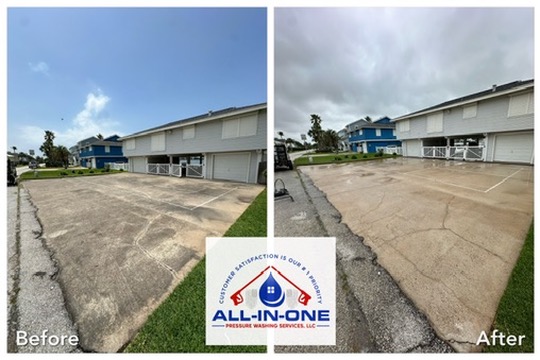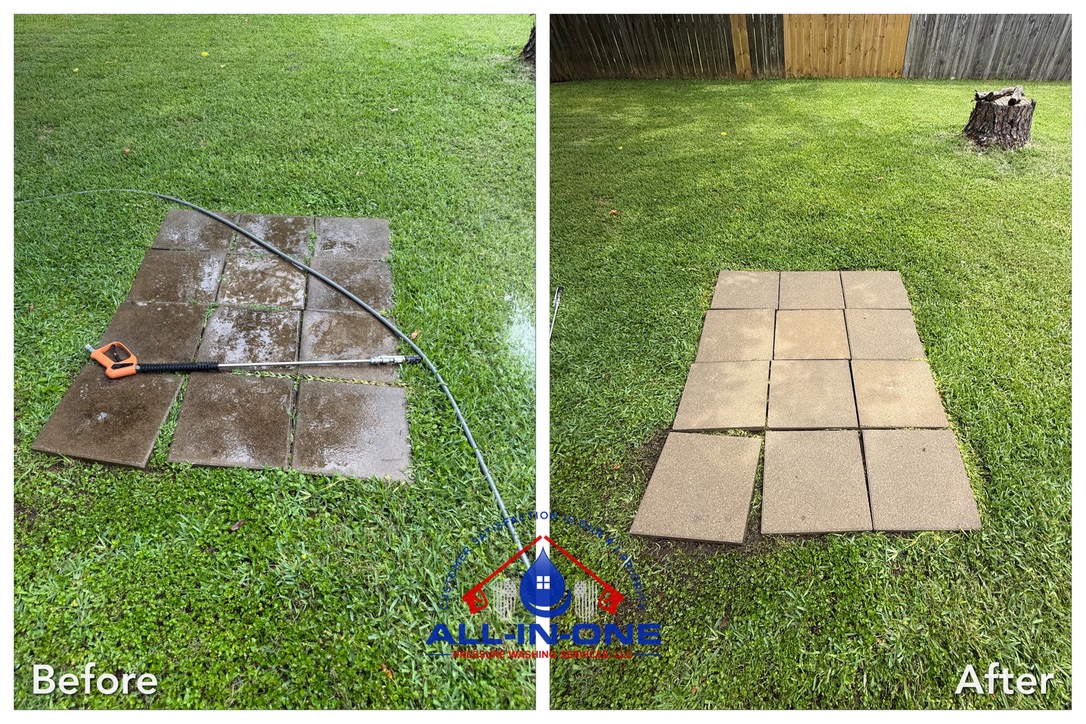
If your patio, driveway, or walkway has lost its luster, you’re not alone. Over time, pavers collect dirt, moss, weeds, and unsightly stains that dull their beauty and drag down your home’s curb appeal. The good news is that proper paver cleaning can restore that like-new look without the cost of a full replacement. We’ve spent years helping homeowners revive their outdoor surfaces, and we’ve learned exactly what works—and what can cause permanent damage. In this guide, we’ll walk you through how to clean pavers the right way, from the tools you need to the finishing touches that keep them looking fresh for years. Whether you’re tackling a weekend project or deciding to call in professionals, this is everything you need to know.
Why Paver Cleaning Matters More Than You Think
Pavers are a significant investment, and like any investment, they need maintenance to retain their value. When grime, algae, and organic debris build up, they don’t just look bad—they actively break down the surface and the joints between each stone. Neglected pavers can become slippery, unsafe, and far more expensive to fix down the road.
We’ve seen beautiful patios transformed into hazards simply because they were ignored for a few seasons. Regular paver cleaning delivers benefits that go well beyond appearances:
- Safety: Algae and moss make surfaces dangerously slick, especially when wet.
- Longevity: Removing organic growth prevents erosion of joint sand and surface wear.
- Property value: Clean, well-kept hardscaping boosts curb appeal and resale value.
- Cost savings: Routine cleaning is far cheaper than replacing damaged pavers.
According to real estate experts, strong curb appeal can add as much as 7% to a home’s value. Your driveway and walkways are often the first thing visitors and buyers notice, so keeping them pristine pays dividends. That’s why we treat every cleaning project as an investment in your property’s long-term health, not just a quick wash.
Tools and Materials You Need for Effective Paver Cleaning
Before you start, gather the right equipment. Using the wrong tools—or using the right tools incorrectly—can etch, pit, or discolor your pavers permanently. We always prepare thoroughly before any job, and we recommend you do the same.
Essential Equipment Checklist
- Stiff-bristle broom or deck brush: For loosening surface debris and scrubbing stubborn spots.
- Pressure washer: Ideally with adjustable PSI and a fan or surface-cleaner attachment.
- Garden hose with spray nozzle: For rinsing and lighter cleaning jobs.
- Paver-safe cleaning solution: A mild detergent or a product designed for stone and concrete.
- Polymeric sand: To refill joints after cleaning.
- Safety gear: Gloves, eye protection, and non-slip footwear.
- Weed removal tool: For clearing growth from the joints.
When choosing a cleaning solution, avoid harsh chemicals like undiluted bleach or acid-based cleaners unless you know your paver type can handle them. For most jobs, a simple mix of warm water and dish soap handles general grime beautifully. For tougher stains like oil or rust, specialized products are worth the investment.
If you don’t own a pressure washer, you can rent one from most hardware stores. Just keep in mind that improper pressure washing is the number-one cause of paver damage we see. Too much force blasts away the joint sand and can chip the surface. If you’re unsure, this is often where calling a professional team saves you money and headaches in the long run.
Step-by-Step Guide to Clean Pavers the Right Way
Now for the heart of the process. Follow these steps in order, and you’ll achieve results that genuinely transform your outdoor space. We use this exact method on jobs every week, and it never disappoints.
The Cleaning Process
- Clear the surface. Remove furniture, planters, and any debris. Sweep thoroughly to eliminate loose dirt and leaves.
- Pull the weeds. Remove any growth between the pavers by hand or with a weeding tool. This prevents regrowth and gives you a clean base.
- Pre-treat stains. Apply your cleaning solution to oil spots, rust, or heavy algae and let it sit for 10–15 minutes. Don’t let it dry out.
- Scrub problem areas. Use your stiff brush to work the solution into stubborn stains and joints.
- Apply cleaner over the whole surface. Spread your detergent evenly across all the pavers and let it dwell.
- Pressure wash carefully. Keep the nozzle 12–18 inches away, use a wide fan tip, and move in smooth, overlapping strokes. Work with the grain of the joints, not against them.
- Rinse thoroughly. Flush away all cleaning residue with clean water.
- Let it dry completely. Allow 24–48 hours before moving to the final steps.
The most common mistake we encounter is rushing the pressure washing stage. Take your time and keep consistent distance and angle. If you notice sand washing out of the joints, back off the pressure immediately. A gentle, methodical approach beats aggressive blasting every single time.
Dealing with Tough Stains During Paver Cleaning
Not all stains come out with soap and water. Some require targeted treatment, and knowing how to handle them makes the difference between a decent result and a flawless one. Here’s how we tackle the most common challenges.
- Oil and grease: Apply a degreaser or a poultice made of baking soda and water. Let it absorb the oil, then scrub and rinse. Fresh spills respond better than old ones, so act quickly.
- Rust: Use a rust remover formulated for stone or concrete. Avoid acid-based products on calcium-rich pavers, as they can cause etching.
- Efflorescence: That white, chalky residue is natural salt deposits. A dedicated efflorescence cleaner works best—never attempt to scrub it off dry.
- Moss and algae: A solution of water and oxygen bleach (not chlorine bleach) kills organic growth without harming surrounding plants.
- Paint or tar: Scrape away excess gently, then use a solvent recommended for your paver material.
Always test any strong cleaner on a hidden corner first. We can’t stress this enough—a small test patch prevents a costly, visible mistake. Different pavers react differently, and what works on concrete may discolor natural stone.
For deeply set stains or large areas, professional-grade equipment and solutions often achieve what store-bought products can’t. If you’ve tried everything and a stain won’t budge, it may be time to bring in experts who can treat it safely without risking your investment.
Sealing and Protecting Your Pavers After Cleaning
Cleaning is only half the battle. To keep your pavers looking fresh and to protect all your hard work, the final steps are re-sanding the joints and applying a quality sealer. This is the stage that separates a temporary fix from a long-lasting result.
Once your pavers are fully dry, sweep polymeric sand into the joints. This locks the pavers in place, deters weed growth, and resists washout during future rains. After the joints are filled, you’re ready to seal.
A good sealer provides several key advantages:
- Protects against UV fading and color loss.
- Repels oil, water, and stains, making future cleaning easier.
- Enhances color with a matte or glossy finish, depending on your preference.
- Reduces weed and moss growth in the joints.
Apply sealer on a dry, mild day with no rain in the forecast for at least 24 hours. Use a roller or sprayer for even coverage, and avoid puddling. Most sealers need to be reapplied every two to three years, depending on foot traffic and weather exposure. We recommend marking your calendar so maintenance never slips through the cracks.
Sealing is where many DIY projects fall short, simply because people skip it. But investing a little extra time here means your pavers stay beautiful far longer, and your next cleaning will be quicker and easier. If you’d like guidance on which sealer suits your specific pavers, our team is always happy to help.
When to Call the Professionals for Paver Cleaning
DIY paver cleaning works well for small areas and routine upkeep, but there are times when professional help is the smarter choice. We’ve rescued countless projects that started as weekend DIY jobs and ended with damaged surfaces or incomplete results.
Consider calling in the experts when:
- You have a large surface area that would take days to clean by hand.
- Stubborn stains like deep rust or old oil won’t respond to home treatments.
- Your pavers are expensive natural stone that requires specialized care.
- You don’t own—or don’t feel confident using—a pressure washer.
- You want a complete service that includes cleaning, re-sanding, and sealing.
Professional paver cleaning brings commercial-grade equipment, proven techniques, and the right cleaning solutions for your exact paver type. We adjust pressure precisely, protect your landscaping, and deliver consistent, streak-free results. More importantly, we stand behind our work, so you get peace of mind along with a stunning finished product.
The cost of professional service is often far less than people expect, especially when you factor in the time, equipment rental, and risk of DIY damage. A single botched cleaning job can cost hundreds to repair—while a professional cleaning protects your investment from the start.
Restoring your pavers to a fresh, like-new look is absolutely achievable when you follow the right steps: clear and prep the surface, use safe cleaning solutions, pressure wash with care, treat stubborn stains, and finish with re-sanding and sealing. Done properly, paver cleaning not only revives your outdoor space but also protects it for years to come. Whether you tackle it yourself or trust the professionals, consistency is the key to lasting beauty and safety. If you’re ready for flawless results without the hassle, we’d love to help. Visit All In One Pressure Washing Services today to schedule your paver cleaning and give your home the fresh, polished look it deserves.