
Your deck is an extension of your home—an outdoor oasis for barbecues, gatherings, or simply relaxing on a sunny afternoon. But exposure to the elements takes a toll, leaving your deck looking worn, dull, or stained. Fortunately, regular cleaning and staining can protect and enhance your deck, extending its lifespan and keeping it looking great. In this post, we’ll walk you through why cleaning and staining matter, how to prepare, and the steps to achieve professional-looking results.
1. Why Clean and Stain Your Deck?
- Preserve the Wood
Rain, snow, UV rays, and foot traffic can all degrade your deck’s wood. Staining helps seal and protect the surface, preventing rot, warping, and sun damage. - Extend Deck Lifespan
By regularly cleaning and staining, you guard the wood against moisture and insects, potentially adding years to the life of your deck. - Enhance Curb Appeal
A freshly stained deck instantly upgrades your home’s exterior appearance, creating a welcoming outdoor living space for family and friends. - Safety First
Moldy or algae-covered deck boards can become slippery and dangerous. Cleaning removes these hazards, keeping your deck safer to walk on.
2. Gather Your Tools and Supplies
Before you begin, make sure you have everything you need on hand. Here’s a quick checklist:
- Cleaning Supplies
- Deck cleaner or wood cleaner
- Garden hose or pressure washer (optional but effective)
- Stiff-bristle brush or deck scrub brush
- Bucket for cleaning solution
- Staining Supplies
- High-quality deck stain (choose oil-based or water-based depending on preference)
- Paintbrushes, staining pads, or rollers
- Painter’s tape or plastic sheeting (to protect nearby surfaces)
- Additional Essentials
- Protective gloves and eyewear
- Sandpaper (60- to 80-grit for smoothing rough spots)
- Drop cloth or tarp to protect surrounding areas
- Weather forecast (you’ll need a dry, mild day for best results)
3. Prepare the Deck
- Clear and Inspect
Remove all furniture, potted plants, grills, and other items from the deck. Inspect each board for signs of damage—like rot, cracks, or loose nails. Replace or repair any compromised sections before you start cleaning. - Sweep Up Debris
Sweep away leaves, dirt, and other loose debris. This prevents additional grime from spreading around when you apply the cleaning solution. - Protect Surrounding Areas
Use drop cloths or plastic sheeting to cover plants, siding, or windows near your deck, especially if you plan to use a cleaning product or stain that might overspray.
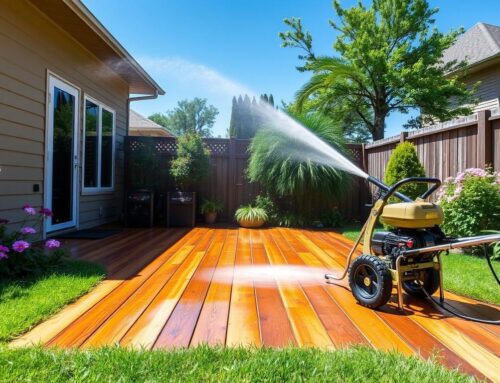
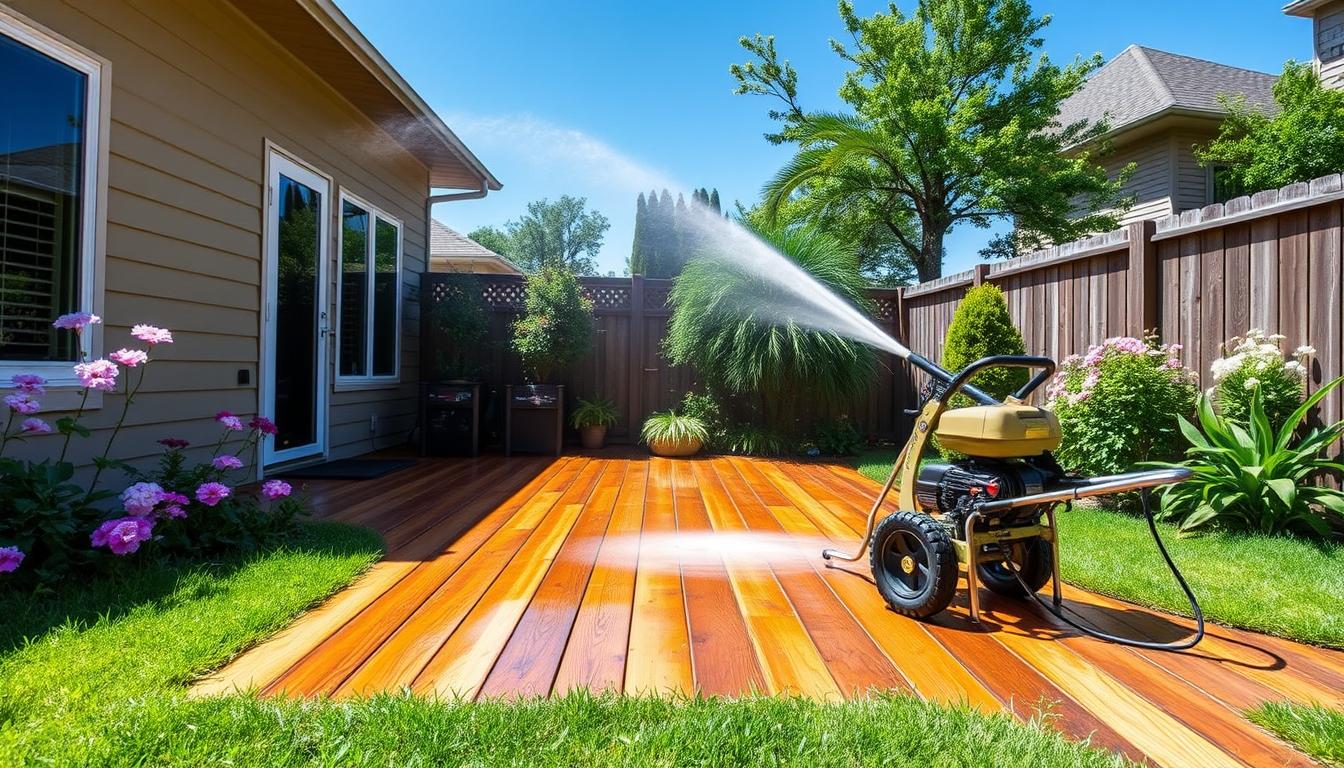
4. Cleaning the Deck
- Apply Deck Cleaner
Mix or dilute a deck-specific cleaner according to the label’s instructions. Use a garden sprayer or watering can to distribute it evenly across the surface. - Scrub Thoroughly
With a stiff-bristle brush, work the cleaner into the wood, paying extra attention to heavily soiled or stained areas. If you have a pressure washer, you can use it on a lower setting with a wide-angle tip to avoid damaging the wood. - Rinse Completely
Rinse off the cleaner using a garden hose or low-pressure setting on your washer. Make sure to remove all the cleaning solution to prevent residue that might interfere with the stain’s adhesion. - Allow to Dry
Wood must be completely dry before staining—typically 24 to 48 hours, depending on weather conditions. Staining on damp wood can lead to an uneven finish or poor absorption.
5. Preparing for Stain
- Light Sanding
If your deck wood is rough or has splintered areas, lightly sand these spots using 60- to 80-grit sandpaper. This not only removes small imperfections but also helps open up the wood grain for better stain penetration. - Remove Dust
After sanding, use a broom or leaf blower to remove all dust and debris from the surface. A clean, dust-free deck ensures a smoother staining process. - Check the Weather
Staining should be done when temperatures are mild (generally 50°F–90°F) and no rain is expected for at least 24 hours. Extreme heat or direct sunlight may cause the stain to dry too quickly and lead to uneven coverage.
6. Staining the Deck
- Choose Your Stain
- Transparent/Translucent Stains: Highlight the natural grain and color of the wood. Best for newer or well-maintained decks.
- Semi-Transparent: Add a bit more color while still showcasing wood grain.
- Solid Stains: Provide a richer color and more coverage. Ideal for older decks with imperfections.
- Stir, Don’t Shake
Before applying, gently stir the stain to mix it evenly. Avoid shaking the container, as this can introduce bubbles. - Apply Evenly
Use a brush, stain pad, or roller for application, working along the grain of the wood. Apply in small sections—about two to three boards at a time—so you can maintain a wet edge and prevent overlapping marks. - Wipe Away Excess
If the stain puddles or looks too thick in some spots, use a clean rag or brush to smooth it out. This ensures an even finish and prevents tacky, sticky areas once dry. - Drying and Second Coat
Check the manufacturer’s directions for recommended drying time. If you plan to apply a second coat, wait the required time, usually several hours or overnight. A second coat can deepen the color and add extra protection.
7. Maintenance and Care
- Routine Cleaning
Sweep or rinse your deck regularly to clear away dirt and debris. A mild soap-and-water solution or a gentle deck cleaner can help preserve the stain’s finish. - Annual Inspection
Each year, examine your deck for any signs of wear or damage. Touch up worn areas or apply a fresh layer of stain to maintain protection. - Avoid Standing Water
Clear away puddles or accumulated snow to reduce moisture exposure, which can lead to warping or rot. - Furniture Pads
Place rubber or felt pads on the feet of outdoor furniture to minimize scratches and abrasion on the deck surface.
8. Final Thoughts
Cleaning and staining your deck is one of the best ways to maintain its beauty and structural integrity. By investing time in proper preparation, using high-quality products, and following the recommended steps, you’ll not only extend the life of your deck but also create a stunning, inviting space for friends and family to enjoy.
With the right approach—and a little elbow grease—you can make your deck look new again. Whether you’re a DIY enthusiast or you prefer hiring professionals, regular deck maintenance is well worth the effort to protect your outdoor investment for years to come.


